Real Transformations: Before & After
See how we bring spaces back to life.
Every home has potential. Explore our featured projects to see the real-life transformations we’ve delivered, from the initial challenge to the flawless, professional finish.
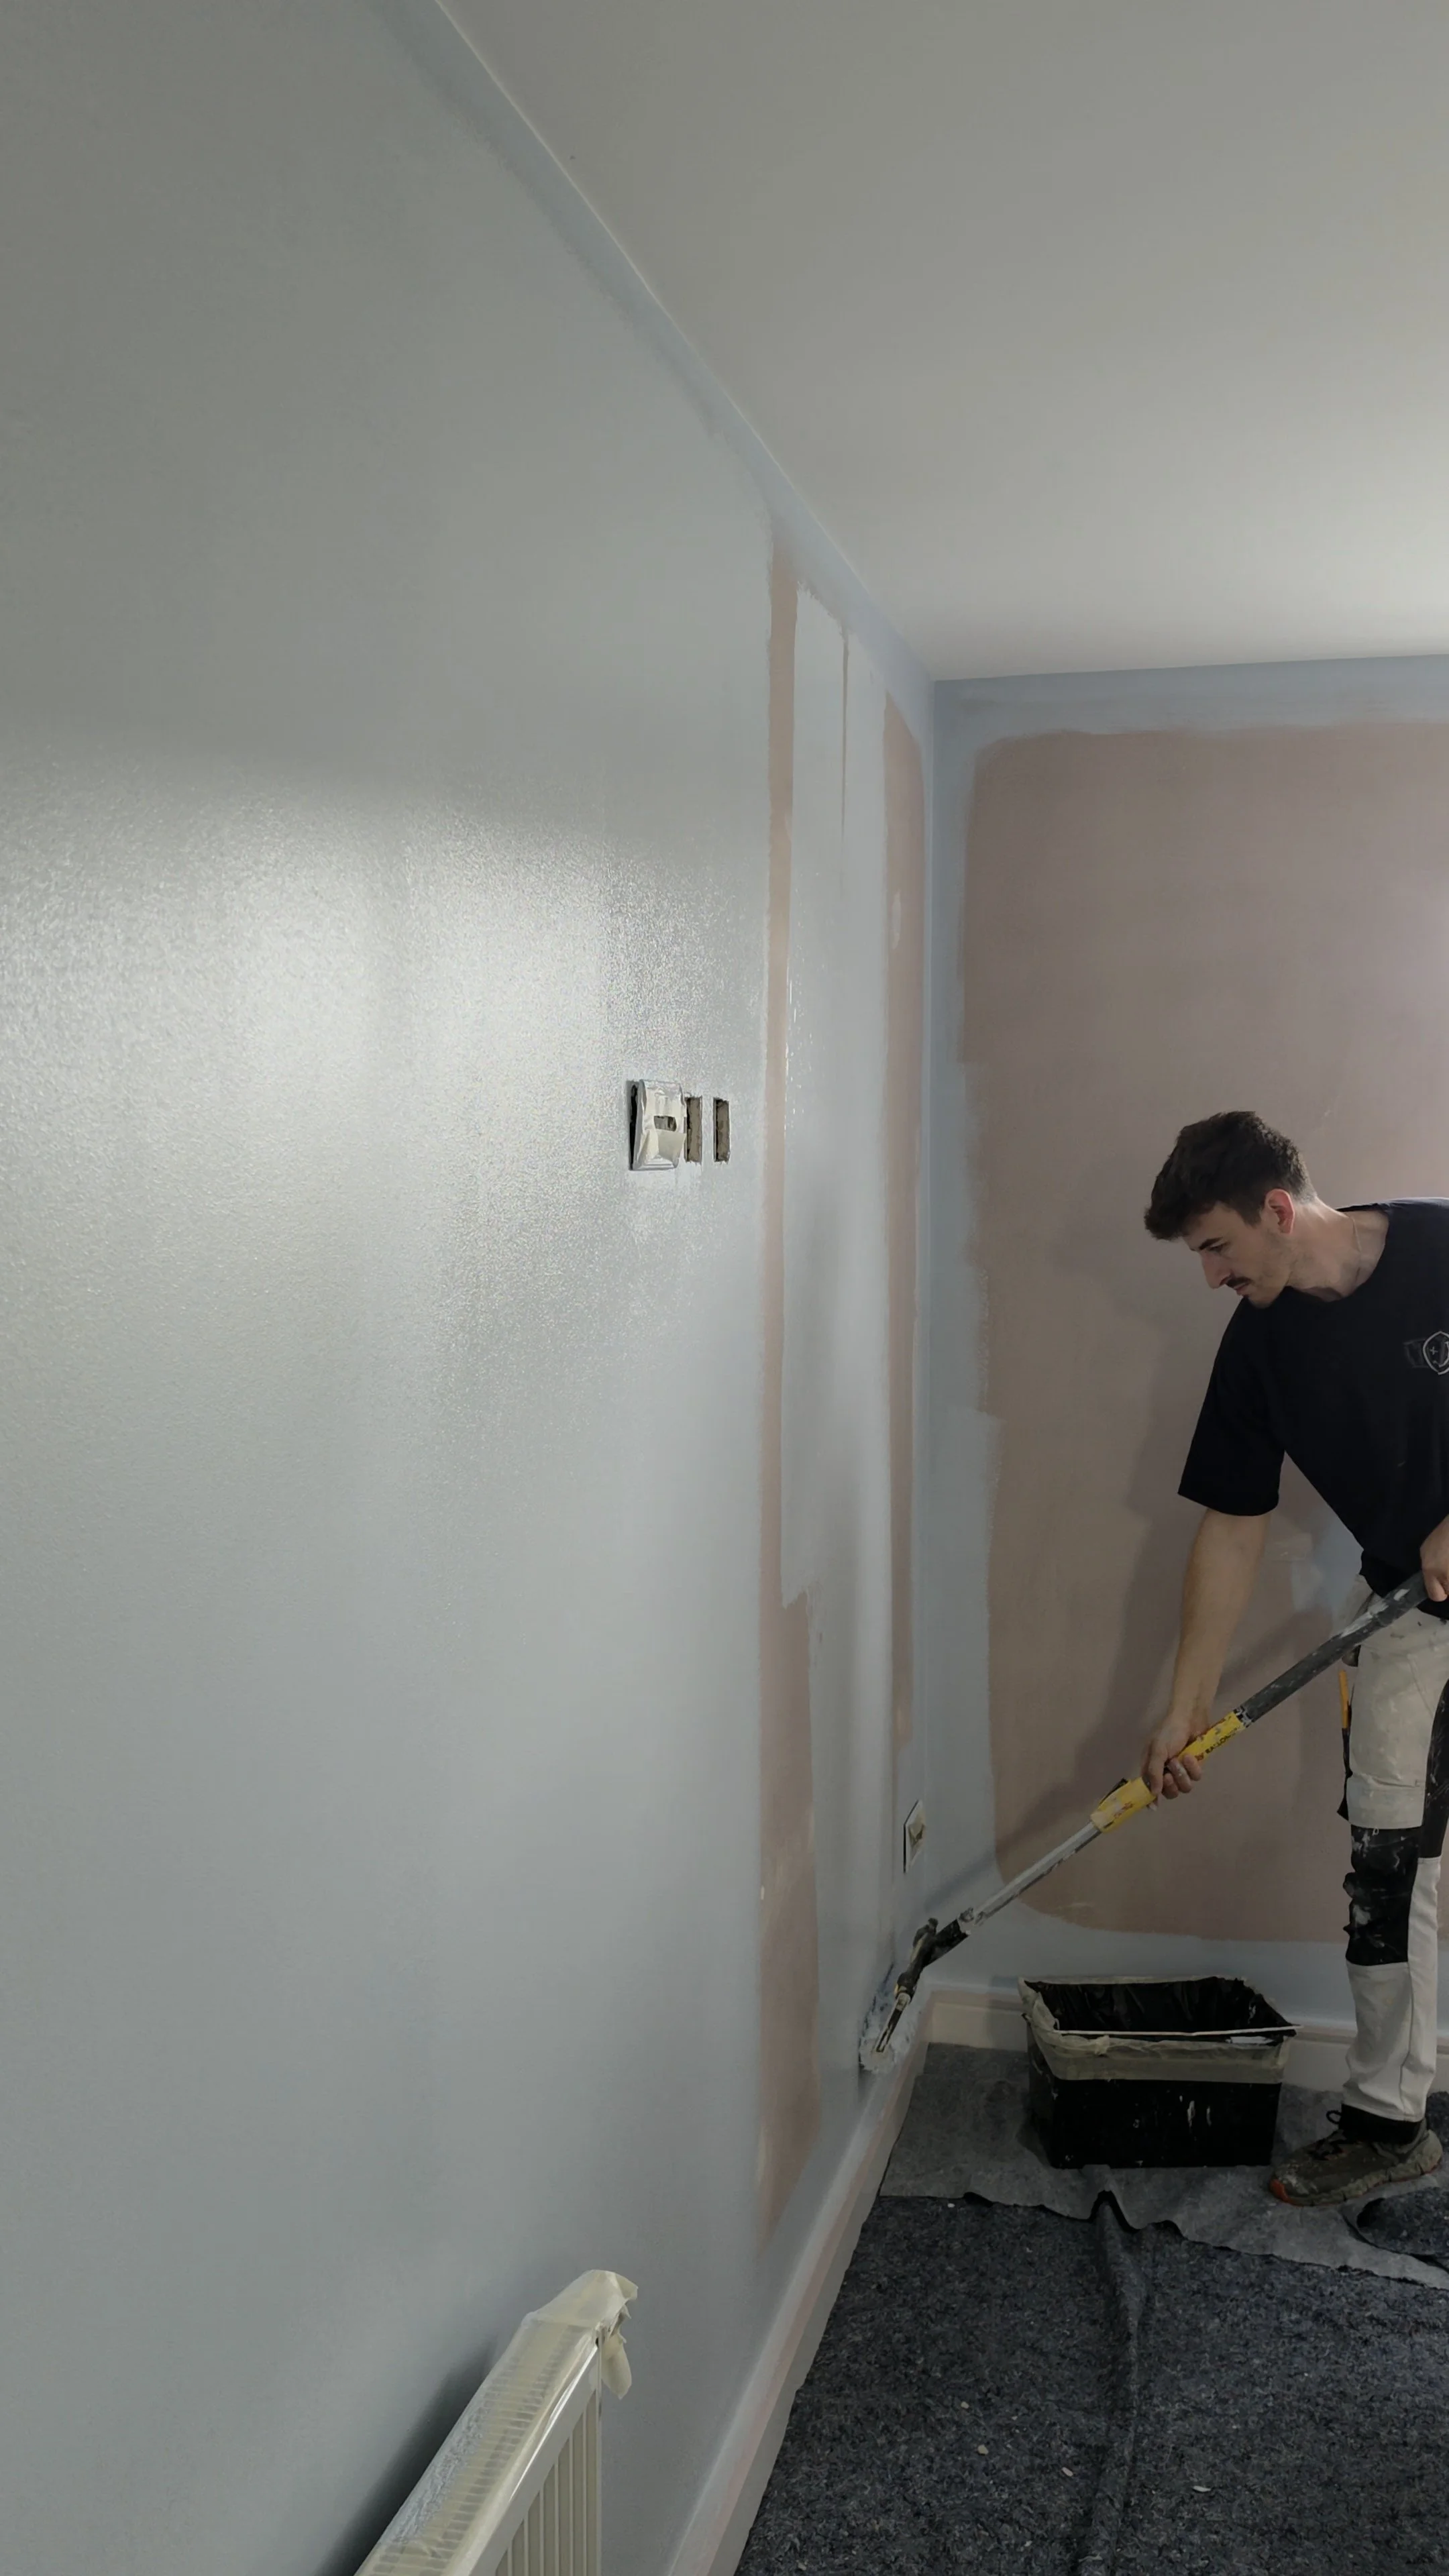
Explore my portfolio to witness how every stroke adds character and warmth to homes.
Scroll to Explore
↓
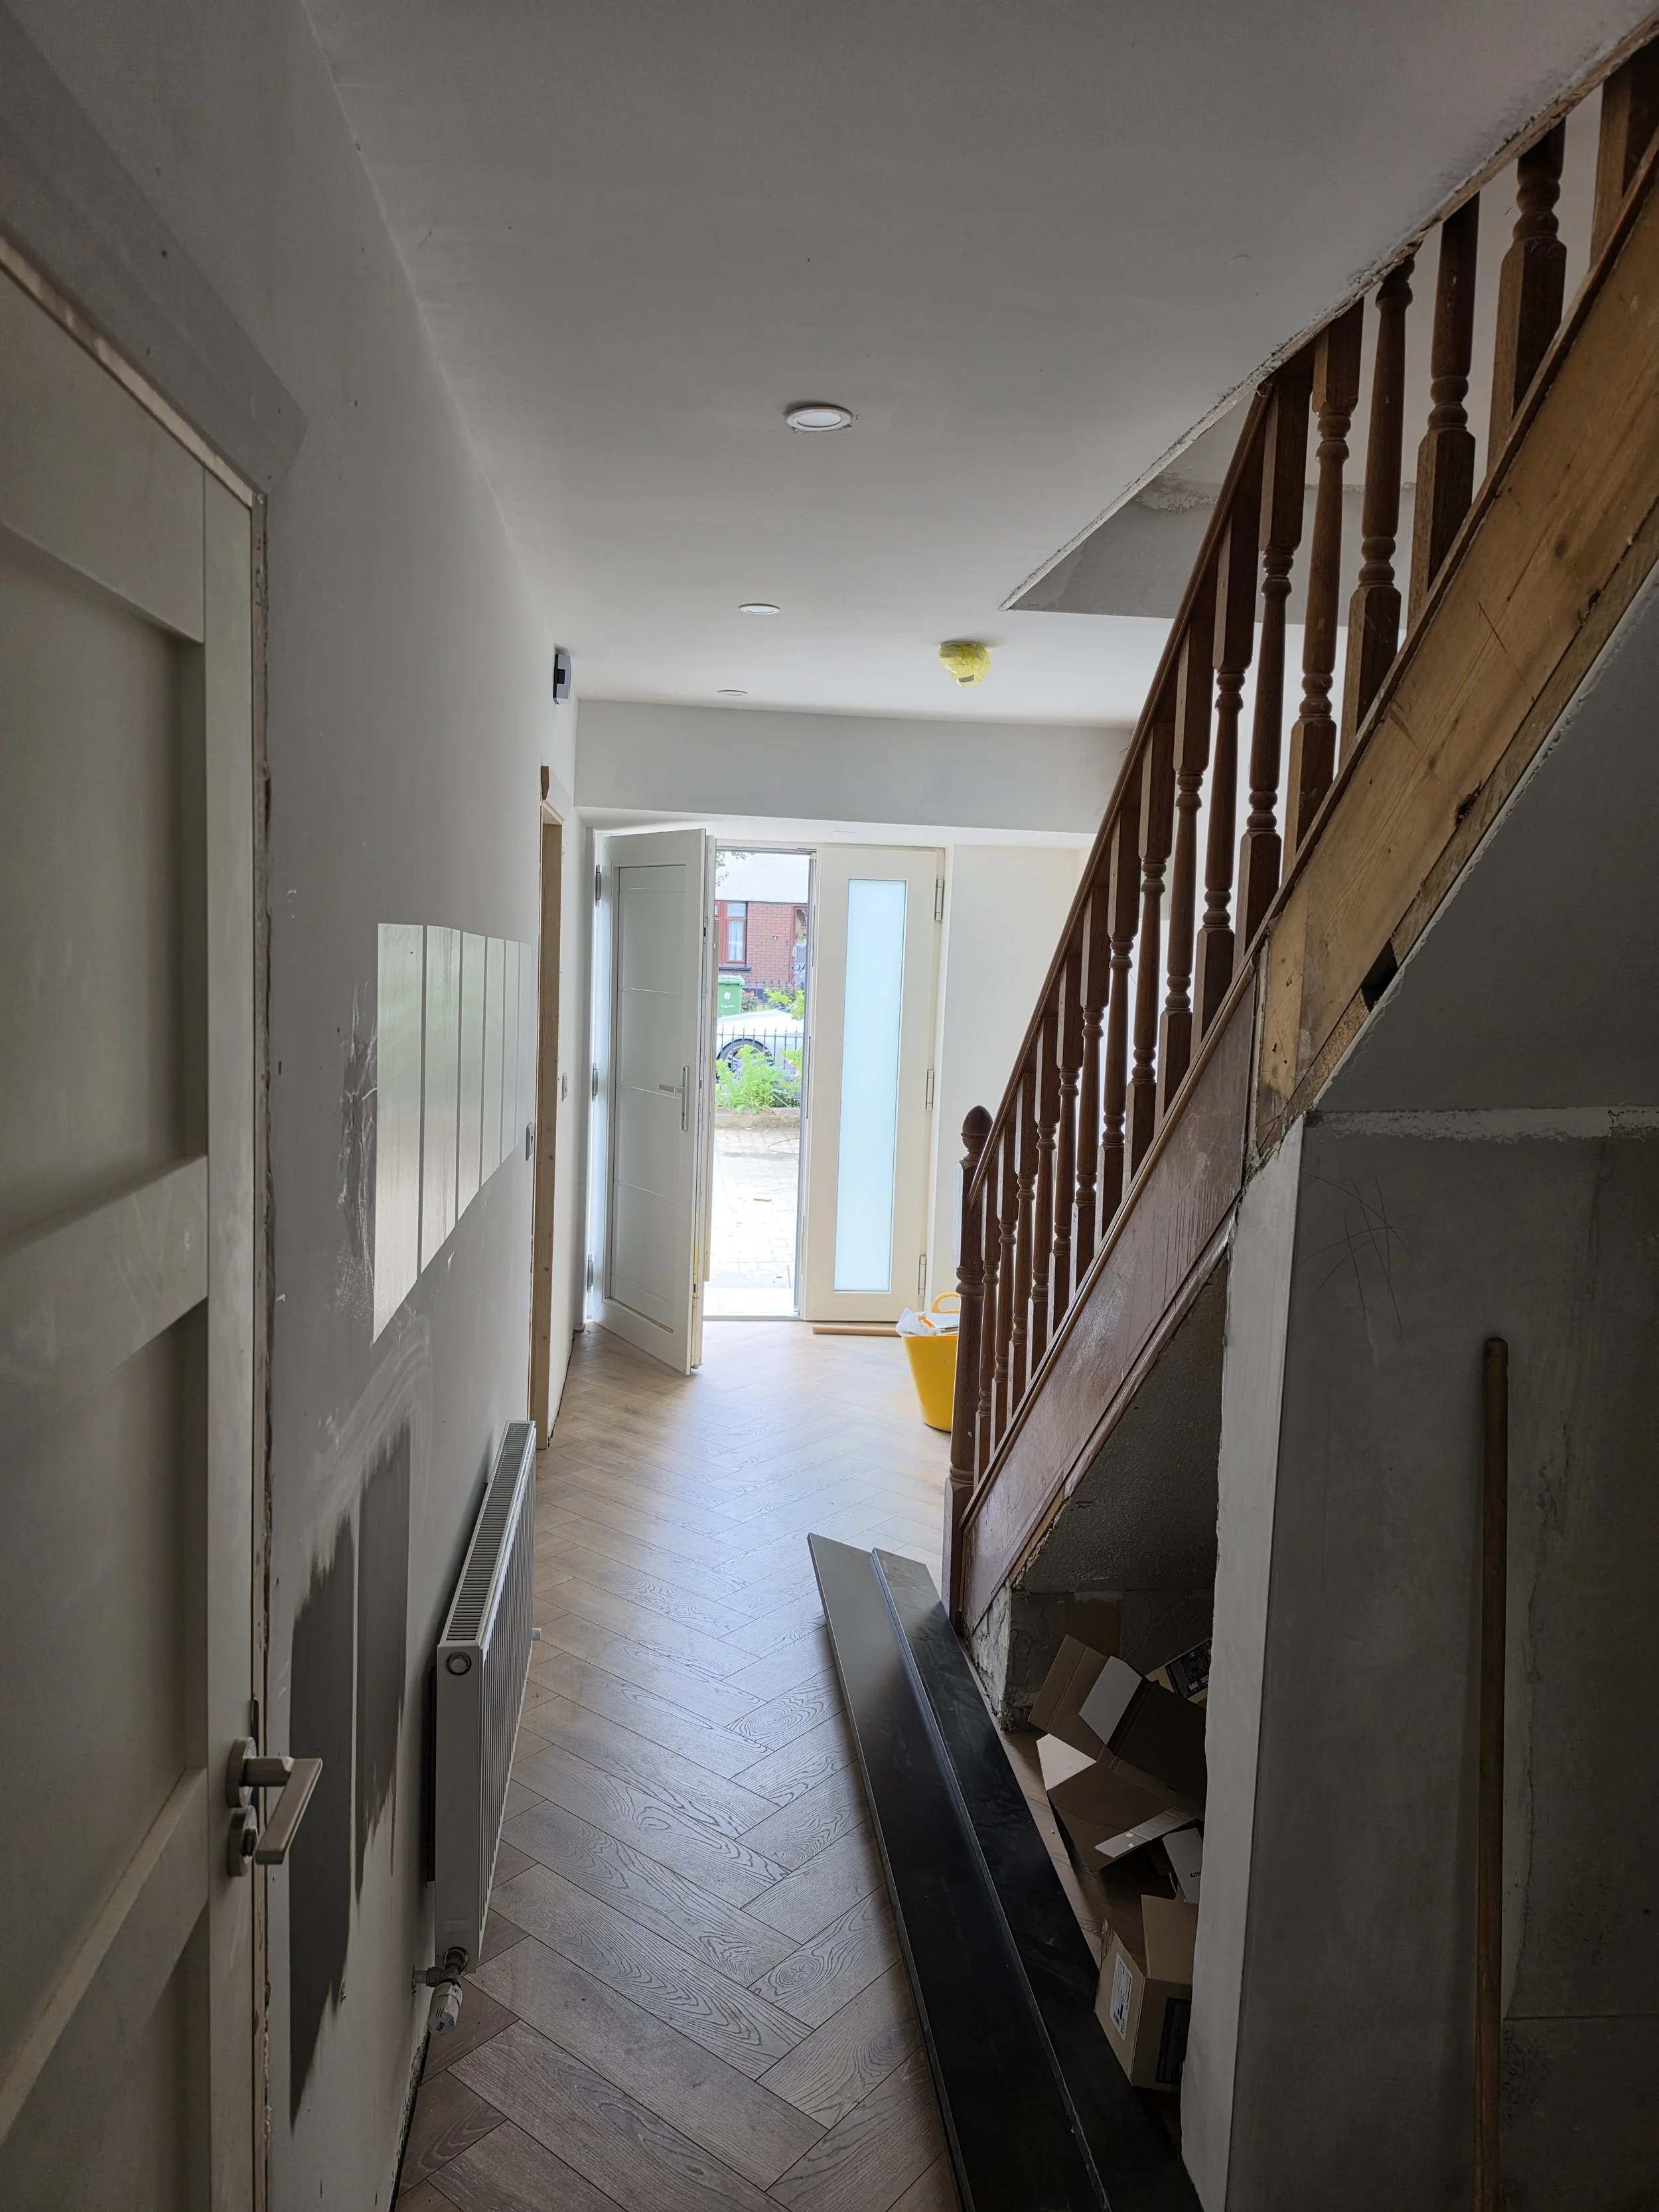
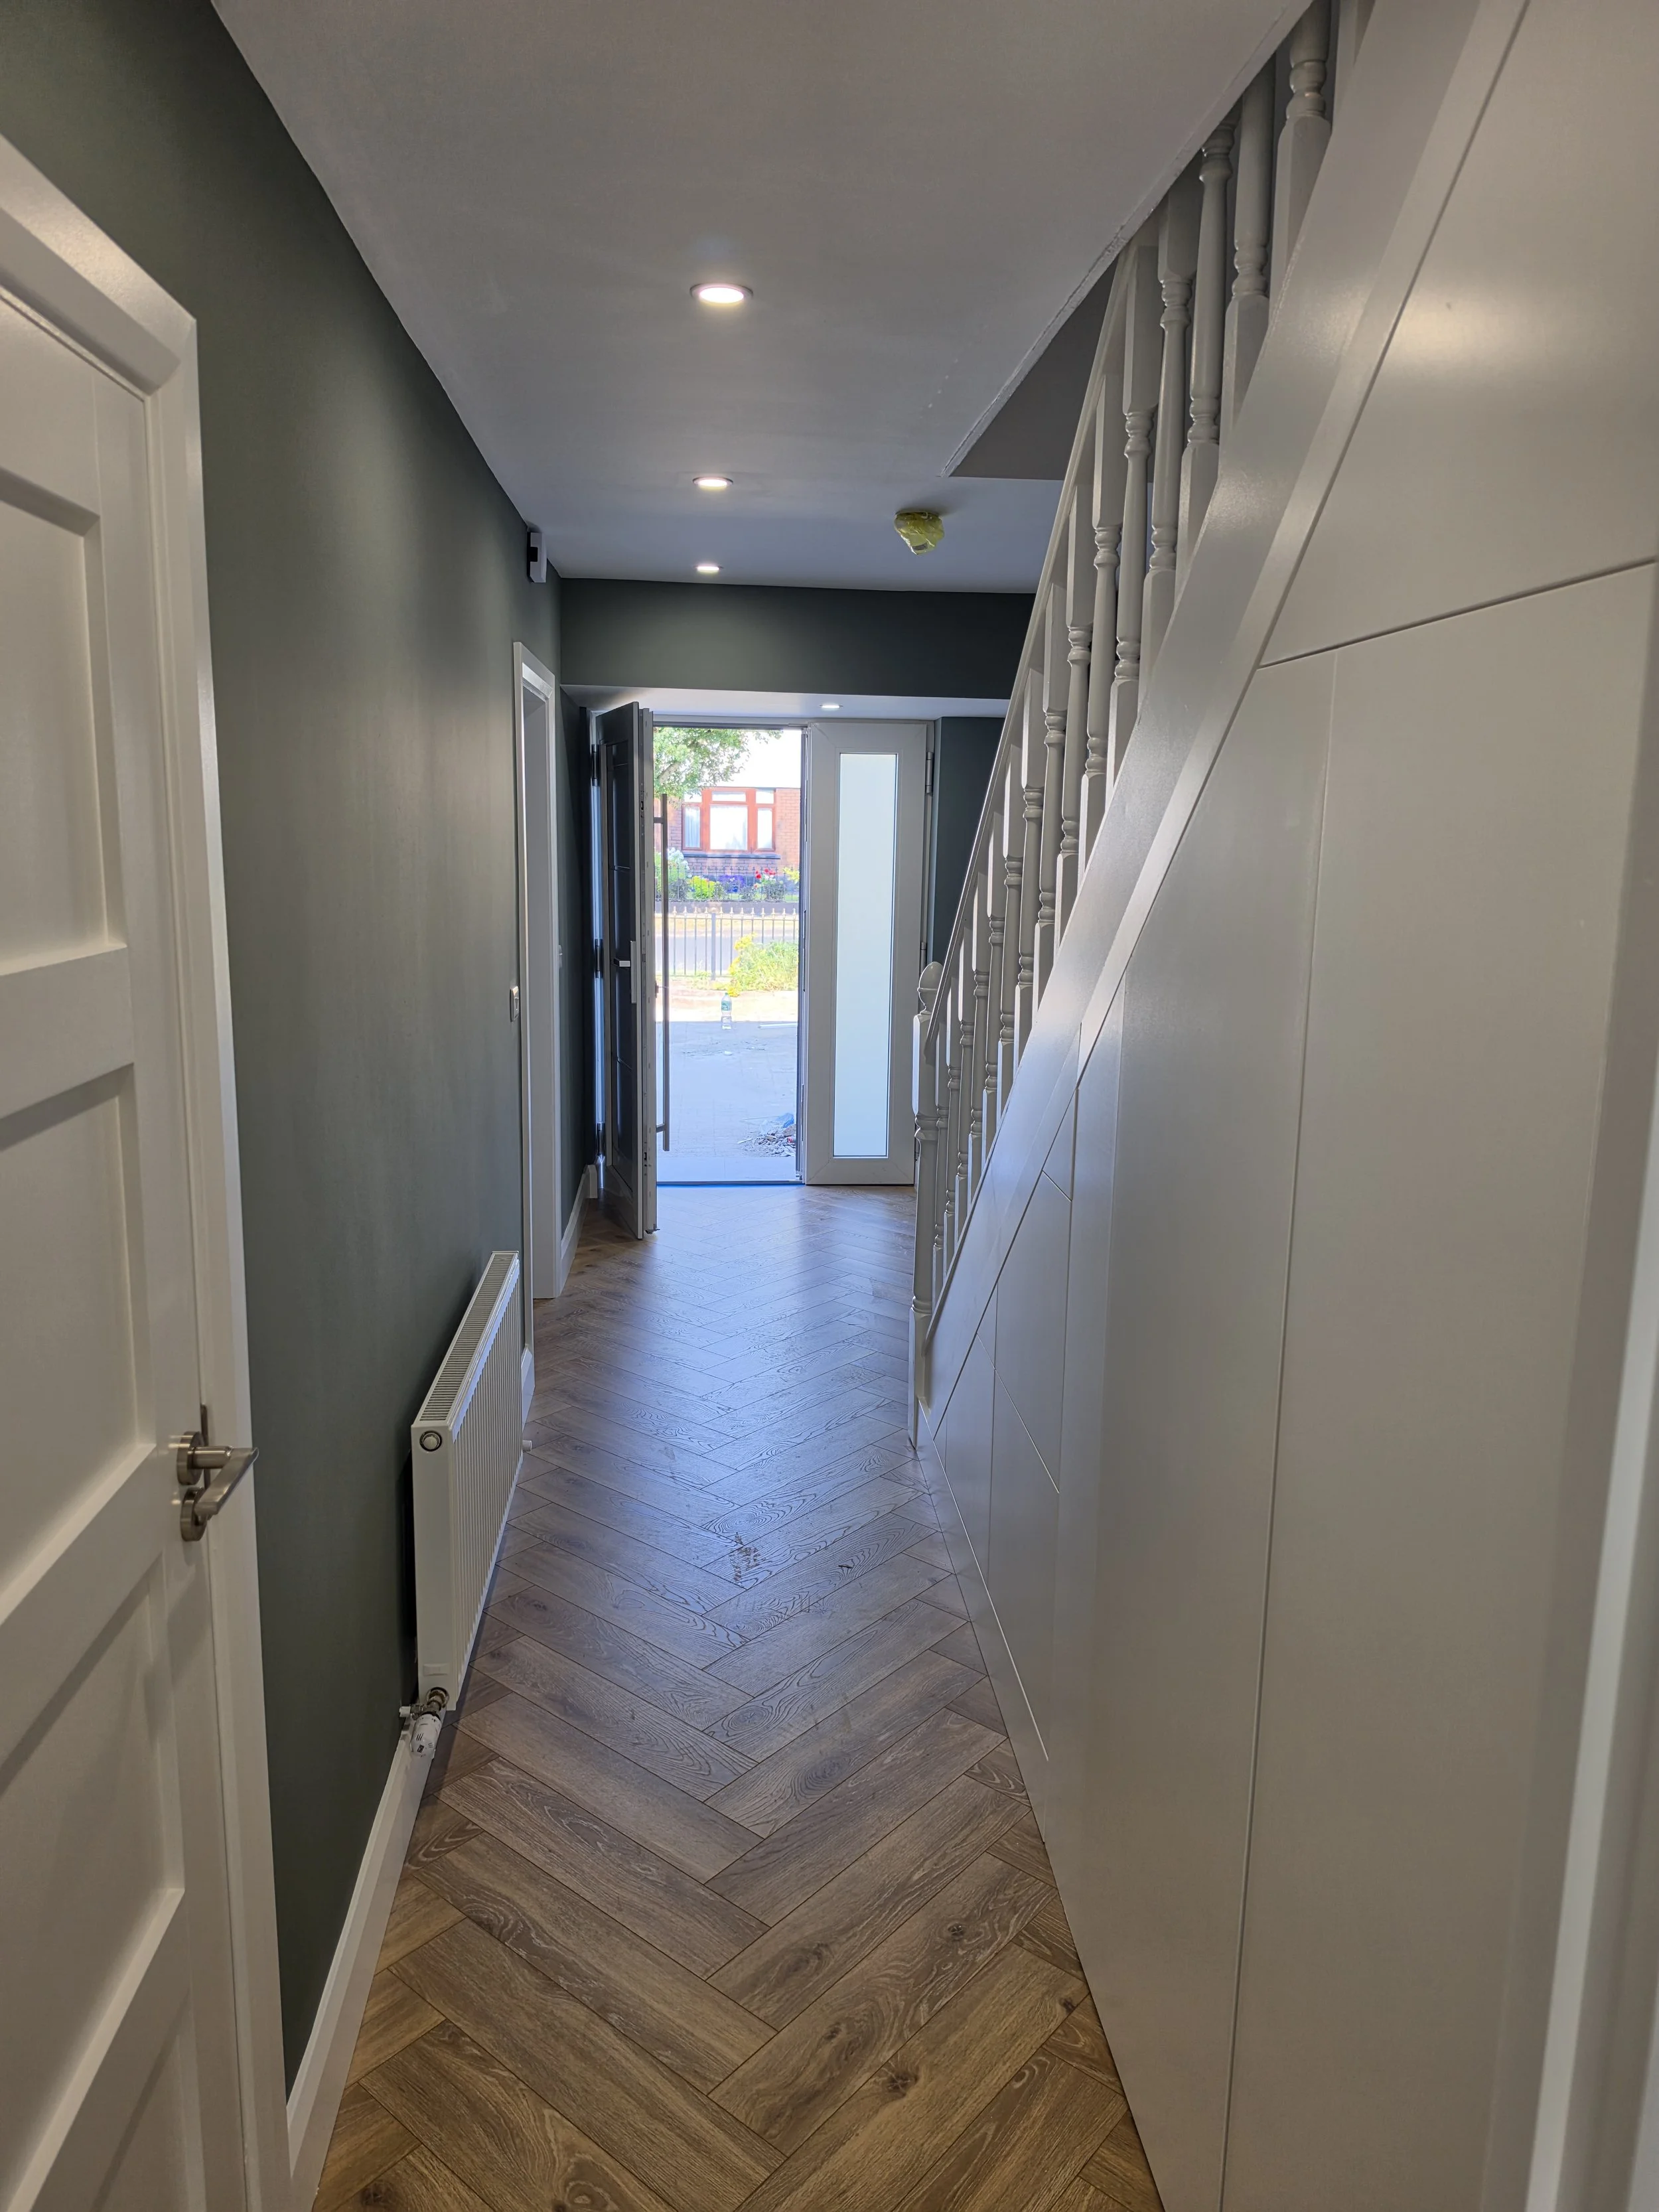
Project: Full House Transformation – Clondalkin
A complete hallway and landing overhaul, combining meticulous preparation with a striking color palette.
The Challenge
The client’s hallway and landing needed a massive refresh. The wooden bannister and spindle structure were originally covered in heavy wood stain and varnish, requiring deep restoration. Furthermore, the client had tried multiple sample colors on the walls, leaving the space looking uneven and disconnected.
To add to the project, the client had recently installed custom under-stairs storage drawers and doors, which were bare and needed a seamless, factory-smooth finish to match the rest of the woodwork.
The Solution
A flawless finish is 90% preparation. Here is how we achieved it:
The Bannister Restoration: We completely sanded down the entire bannister to strip away the old varnish and stain.
Priming & Undercoating: We applied a high-performance Zinsser BIN Primer to seal the wood and prevent stain bleed-through. After another light sanding, we applied a premium undercoat, followed by another round of fine sanding to ensure absolute smoothness.
The Finish: We applied two top coats of Pure Brilliant White paint to the bannister, skirting boards, doors, and the new under-stairs storage.
The Walls: For a modern, fresh look, we painted the walls in Wild Eden, creating a stunning, high-contrast backdrop against the crisp white woodwork.
The Result
The home was completely transformed into a bright, modern, and welcoming space. The contrast between the vibrant Wild Eden walls and the Pure Brilliant White woodwork looks absolutely superb. Thanks to the intense sanding and priming process, the finish is durable, smooth to the touch, and built to last.
Project: Elegant Sitting Room & Custom Alcove Units in Malahide
A sophisticated living space transformation featuring bespoke carpentry painting and a modern, cohesive color scheme.
The Challenge
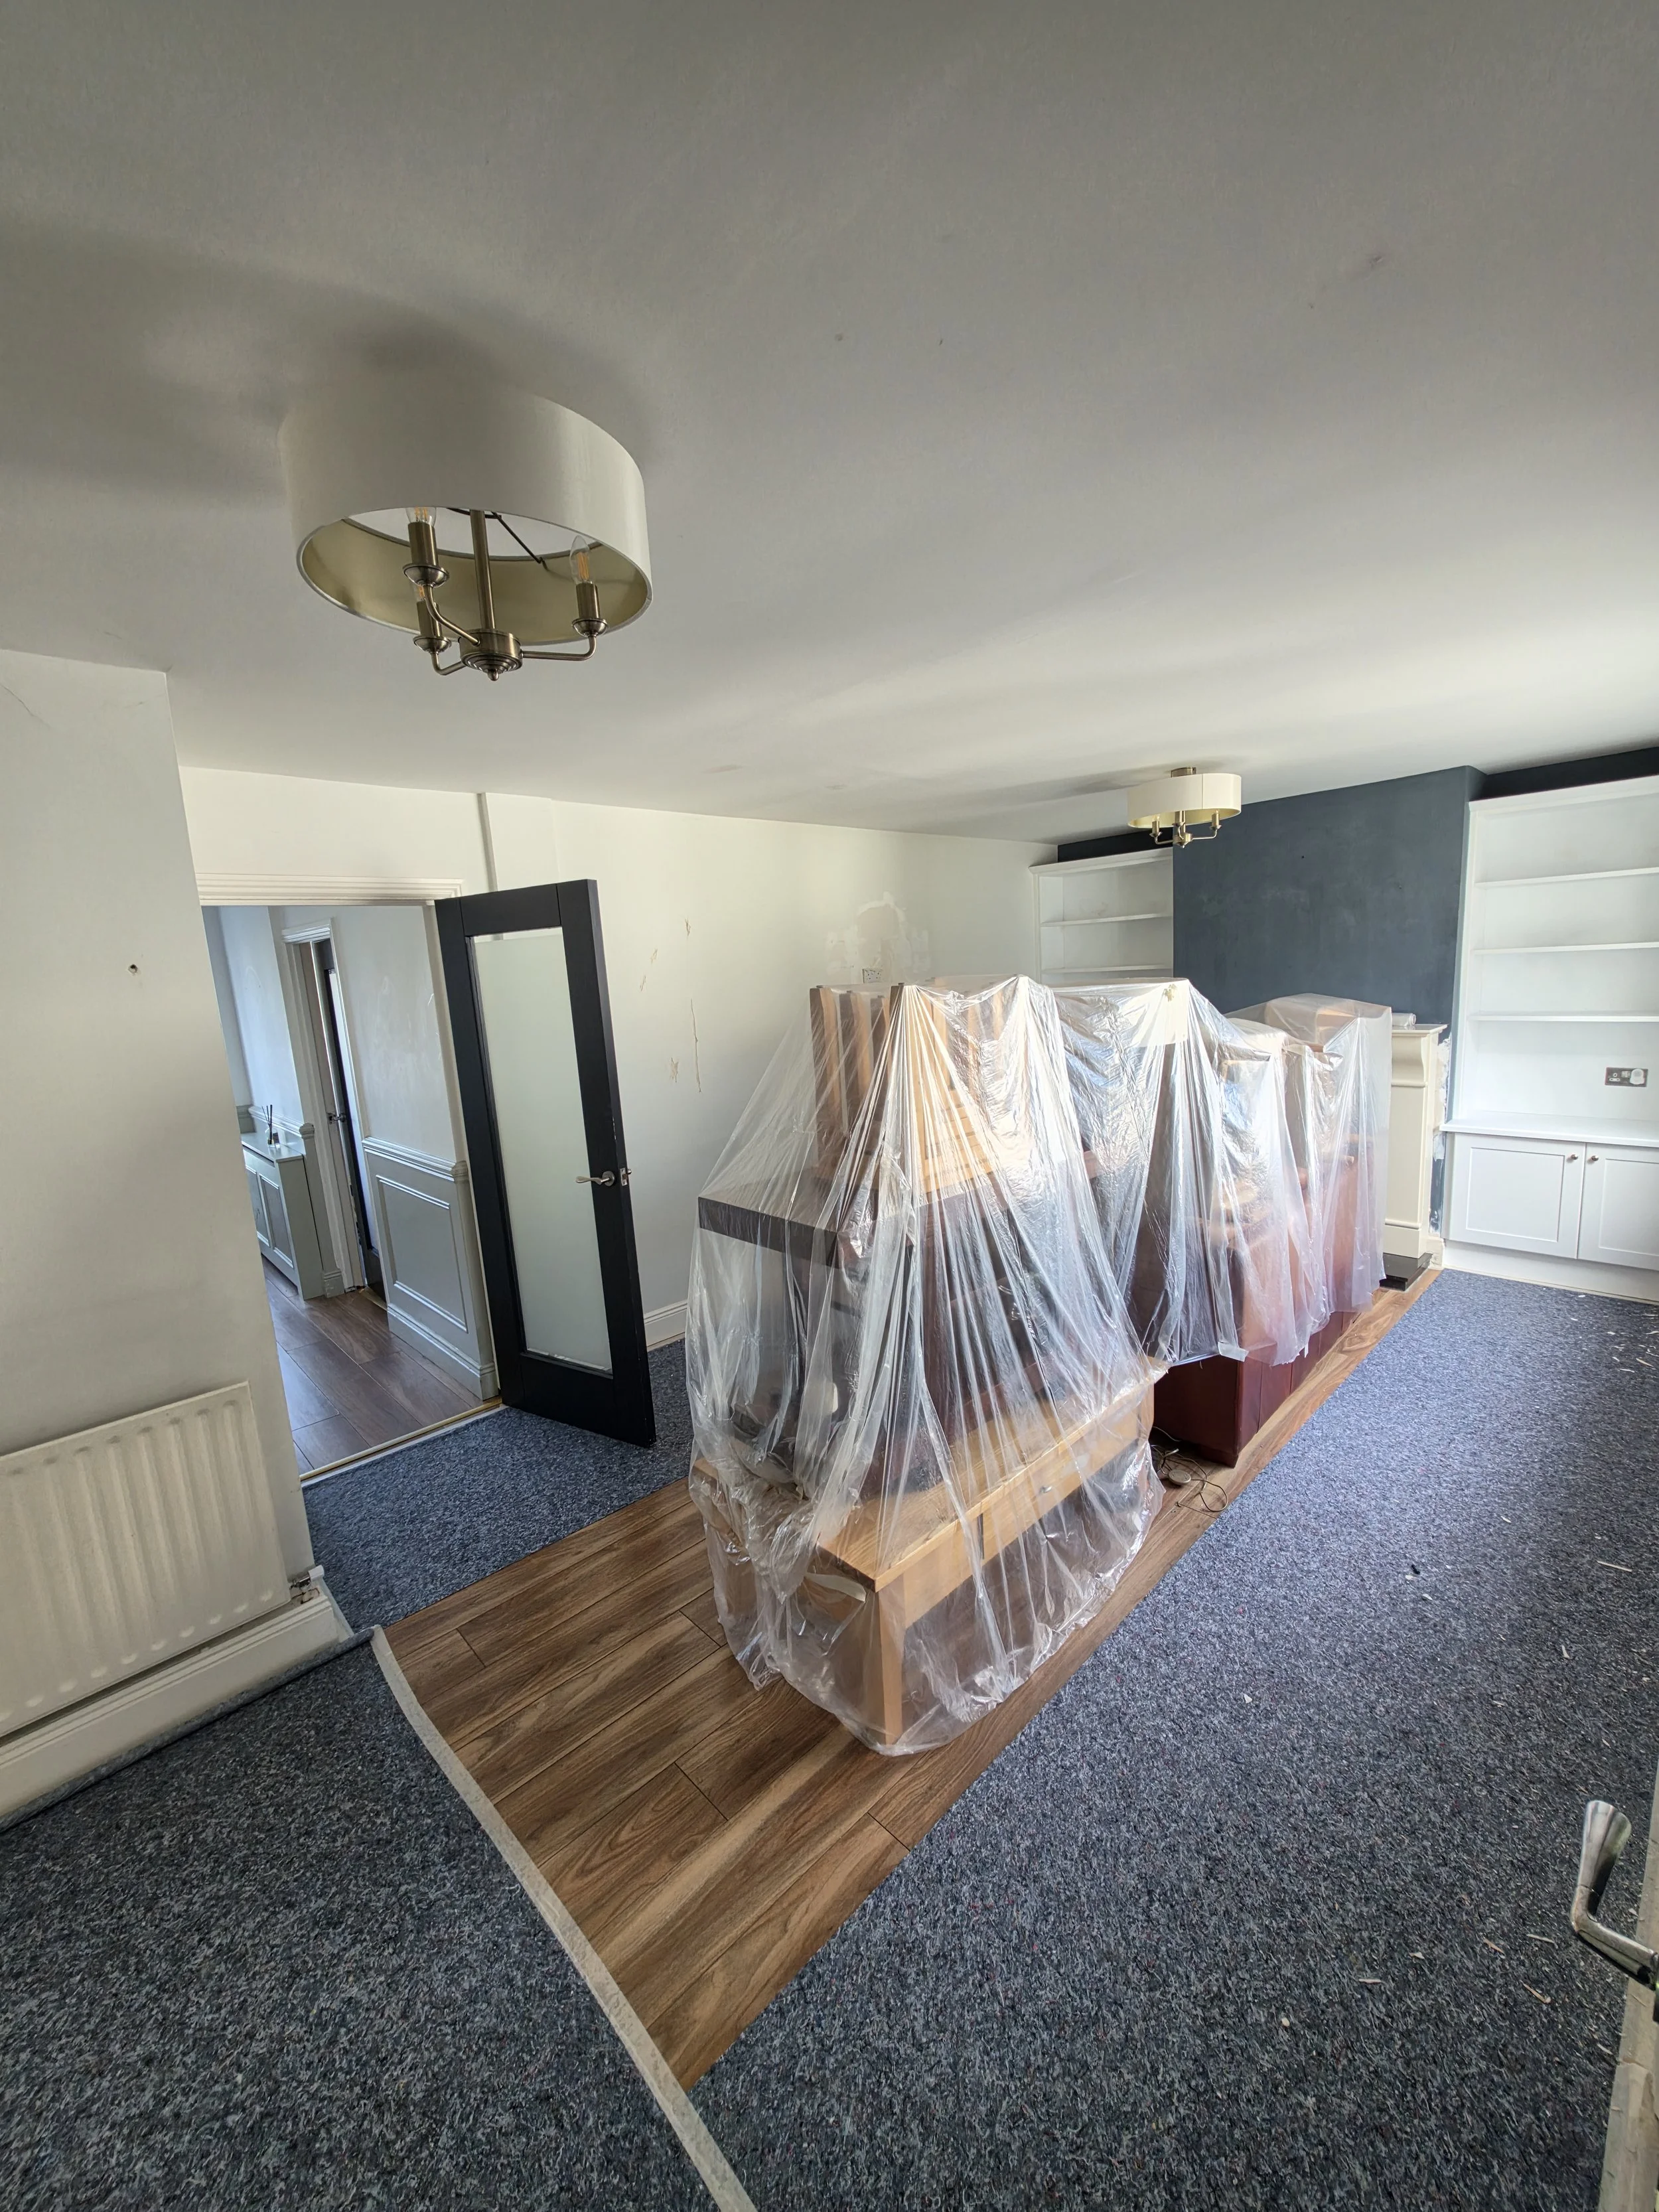
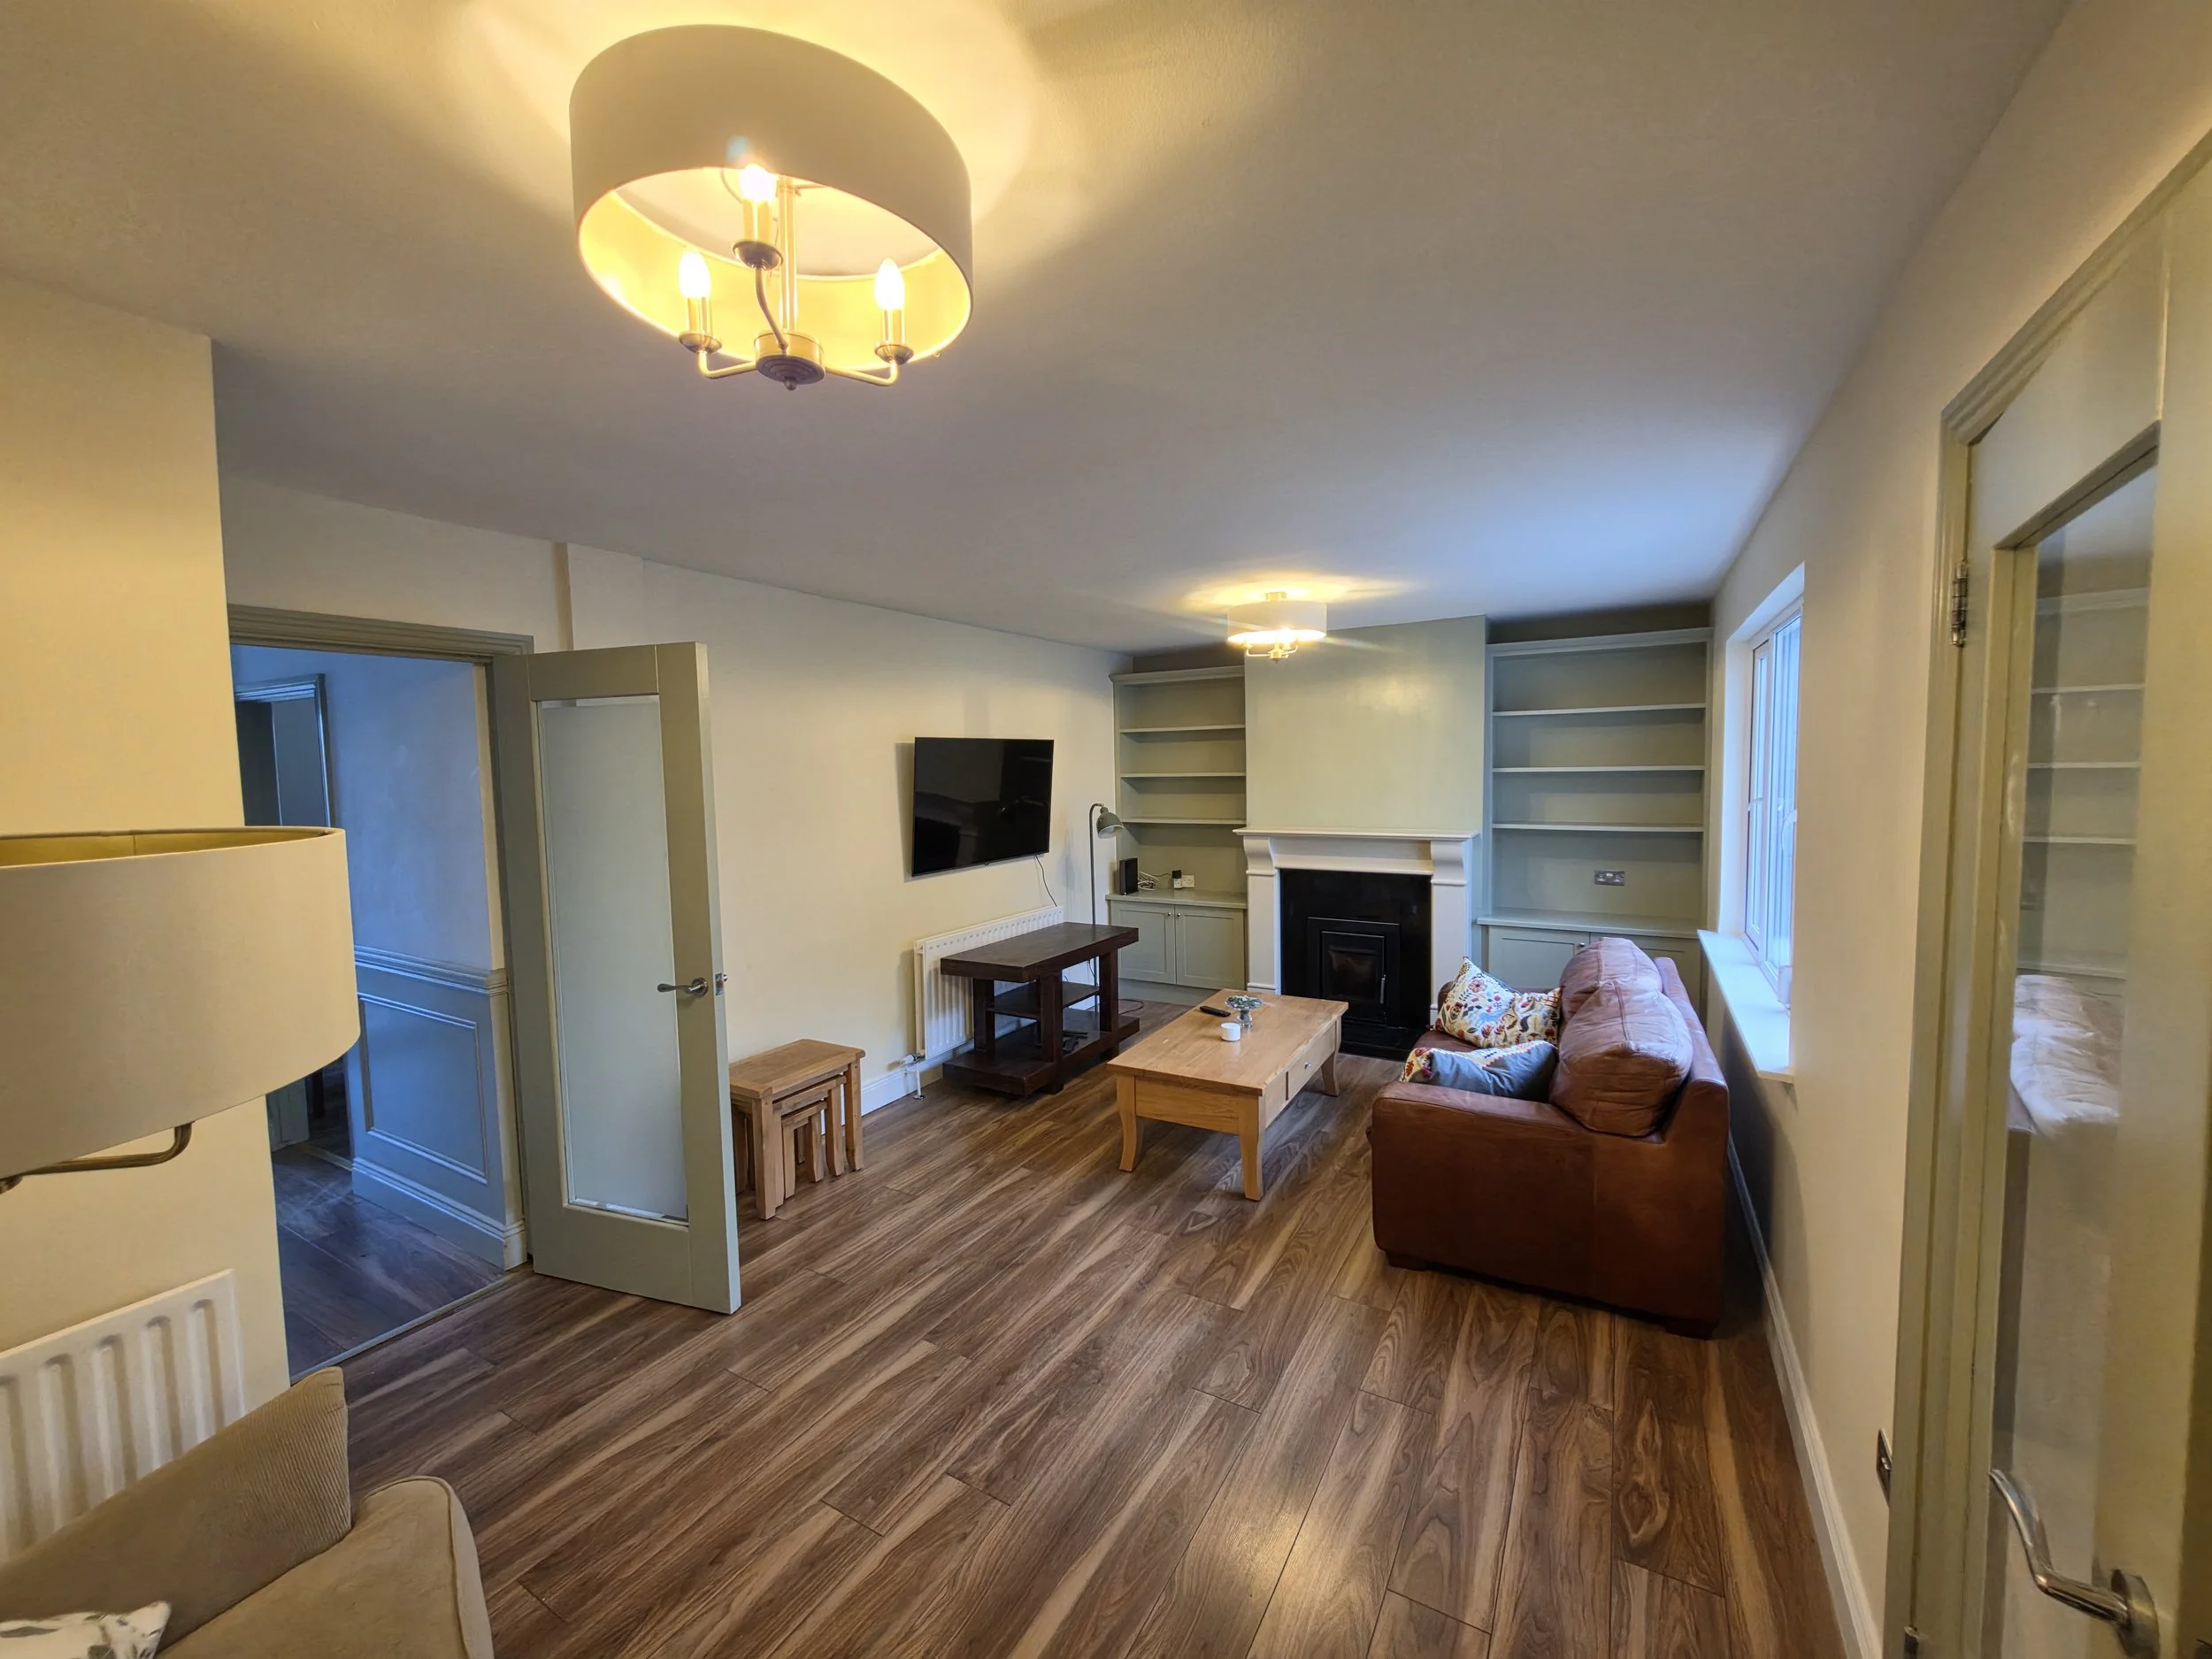
The client had brand-new, custom-built alcove units and doors installed in their sitting room. Being raw wood/MDF, these units required expert preparation and priming to prevent the material from absorbing the paint unevenly. The goal was to give these new units a flawless, factory-like finish while transforming the entire room's atmosphere to make it feel cozy yet elegant.
The Solution
We used professional multi-stage painting techniques to ensure a durable, smooth-to-the-touch finish:
Alcove Units Preparation: We applied a dedicated primer to seal the new wood/MDF units. Once cured, we followed up with a high-quality undercoat to build a solid foundation for the color.
The Satin Finish: We applied two top coats of Dulux Overtly Olive in a beautiful satin finish to the alcove units and doors. We sanded lightly between coats to ensure absolute smoothness and eliminate brush marks.
The Walls: To perfectly complement the rich olive green of the units, we painted the sitting room walls in Dulux Antique White, creating a warm, soft, and inviting backdrop.
The Result
The contrast between the Overtly Olive built-ins and the Antique White walls completely redefined the sitting room. The new alcove units look fully integrated into the space, boasting a sleek, durable satin finish that resists everyday wear and tear while looking incredibly high-end.
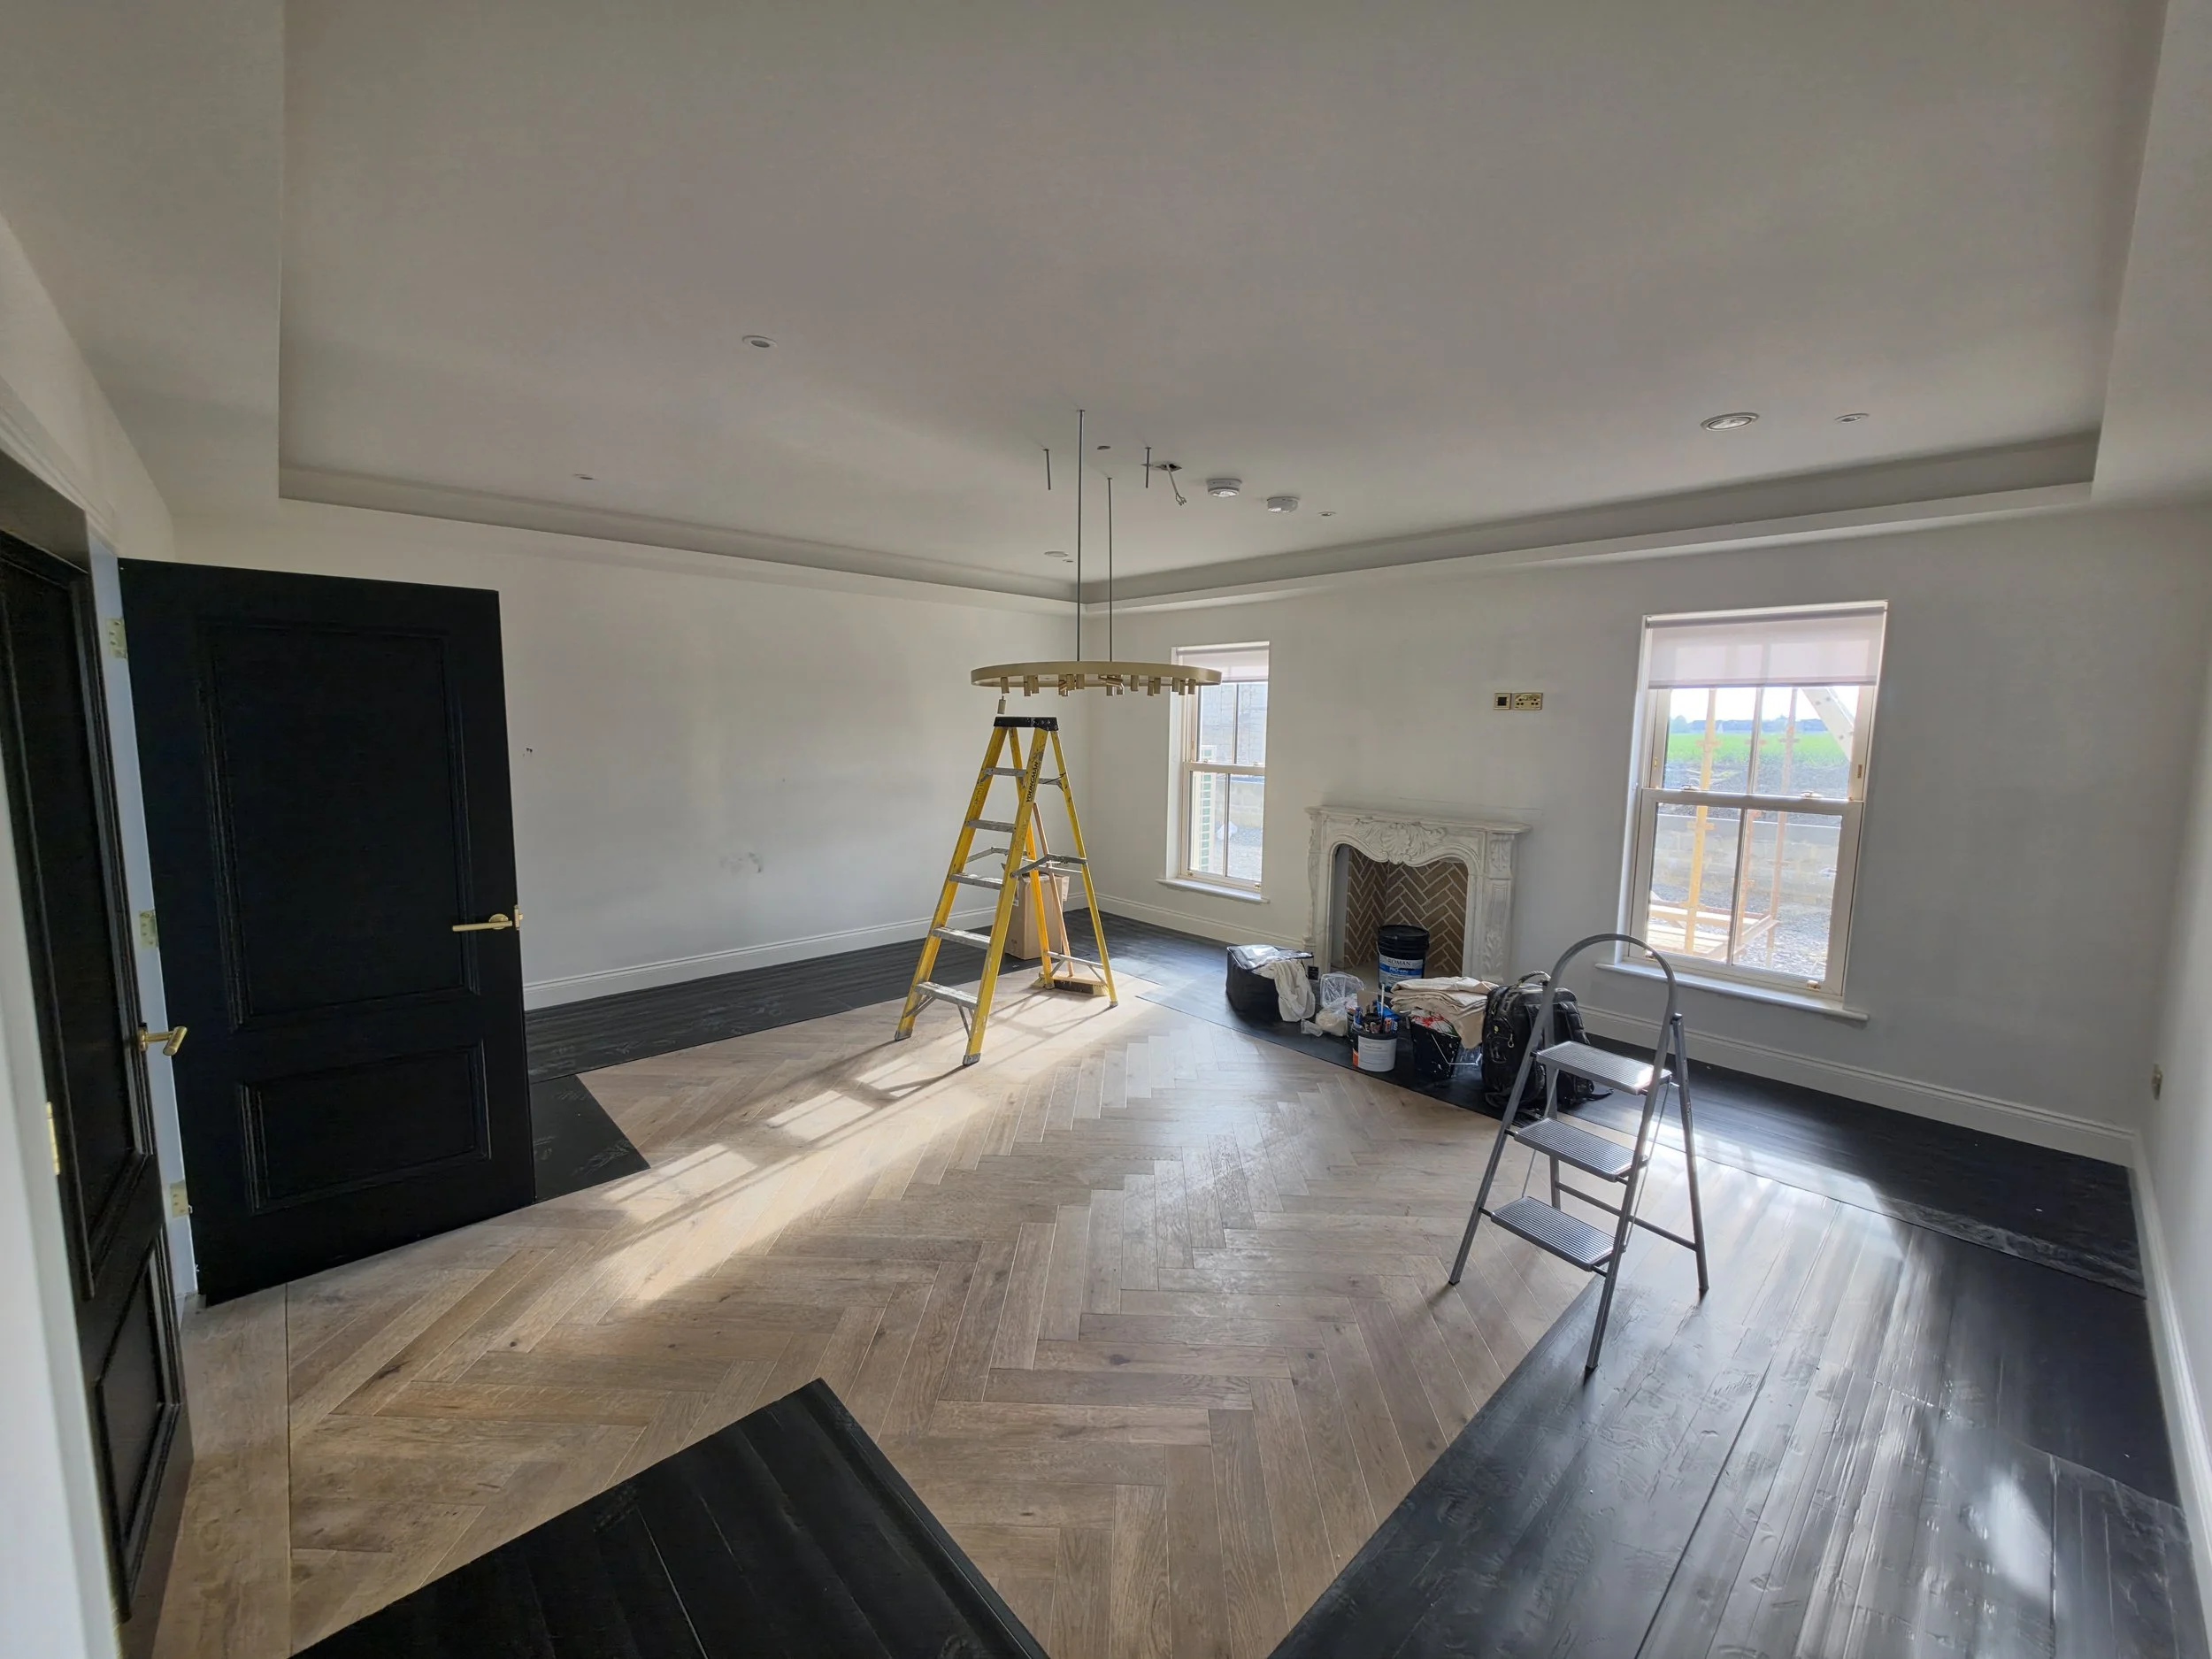
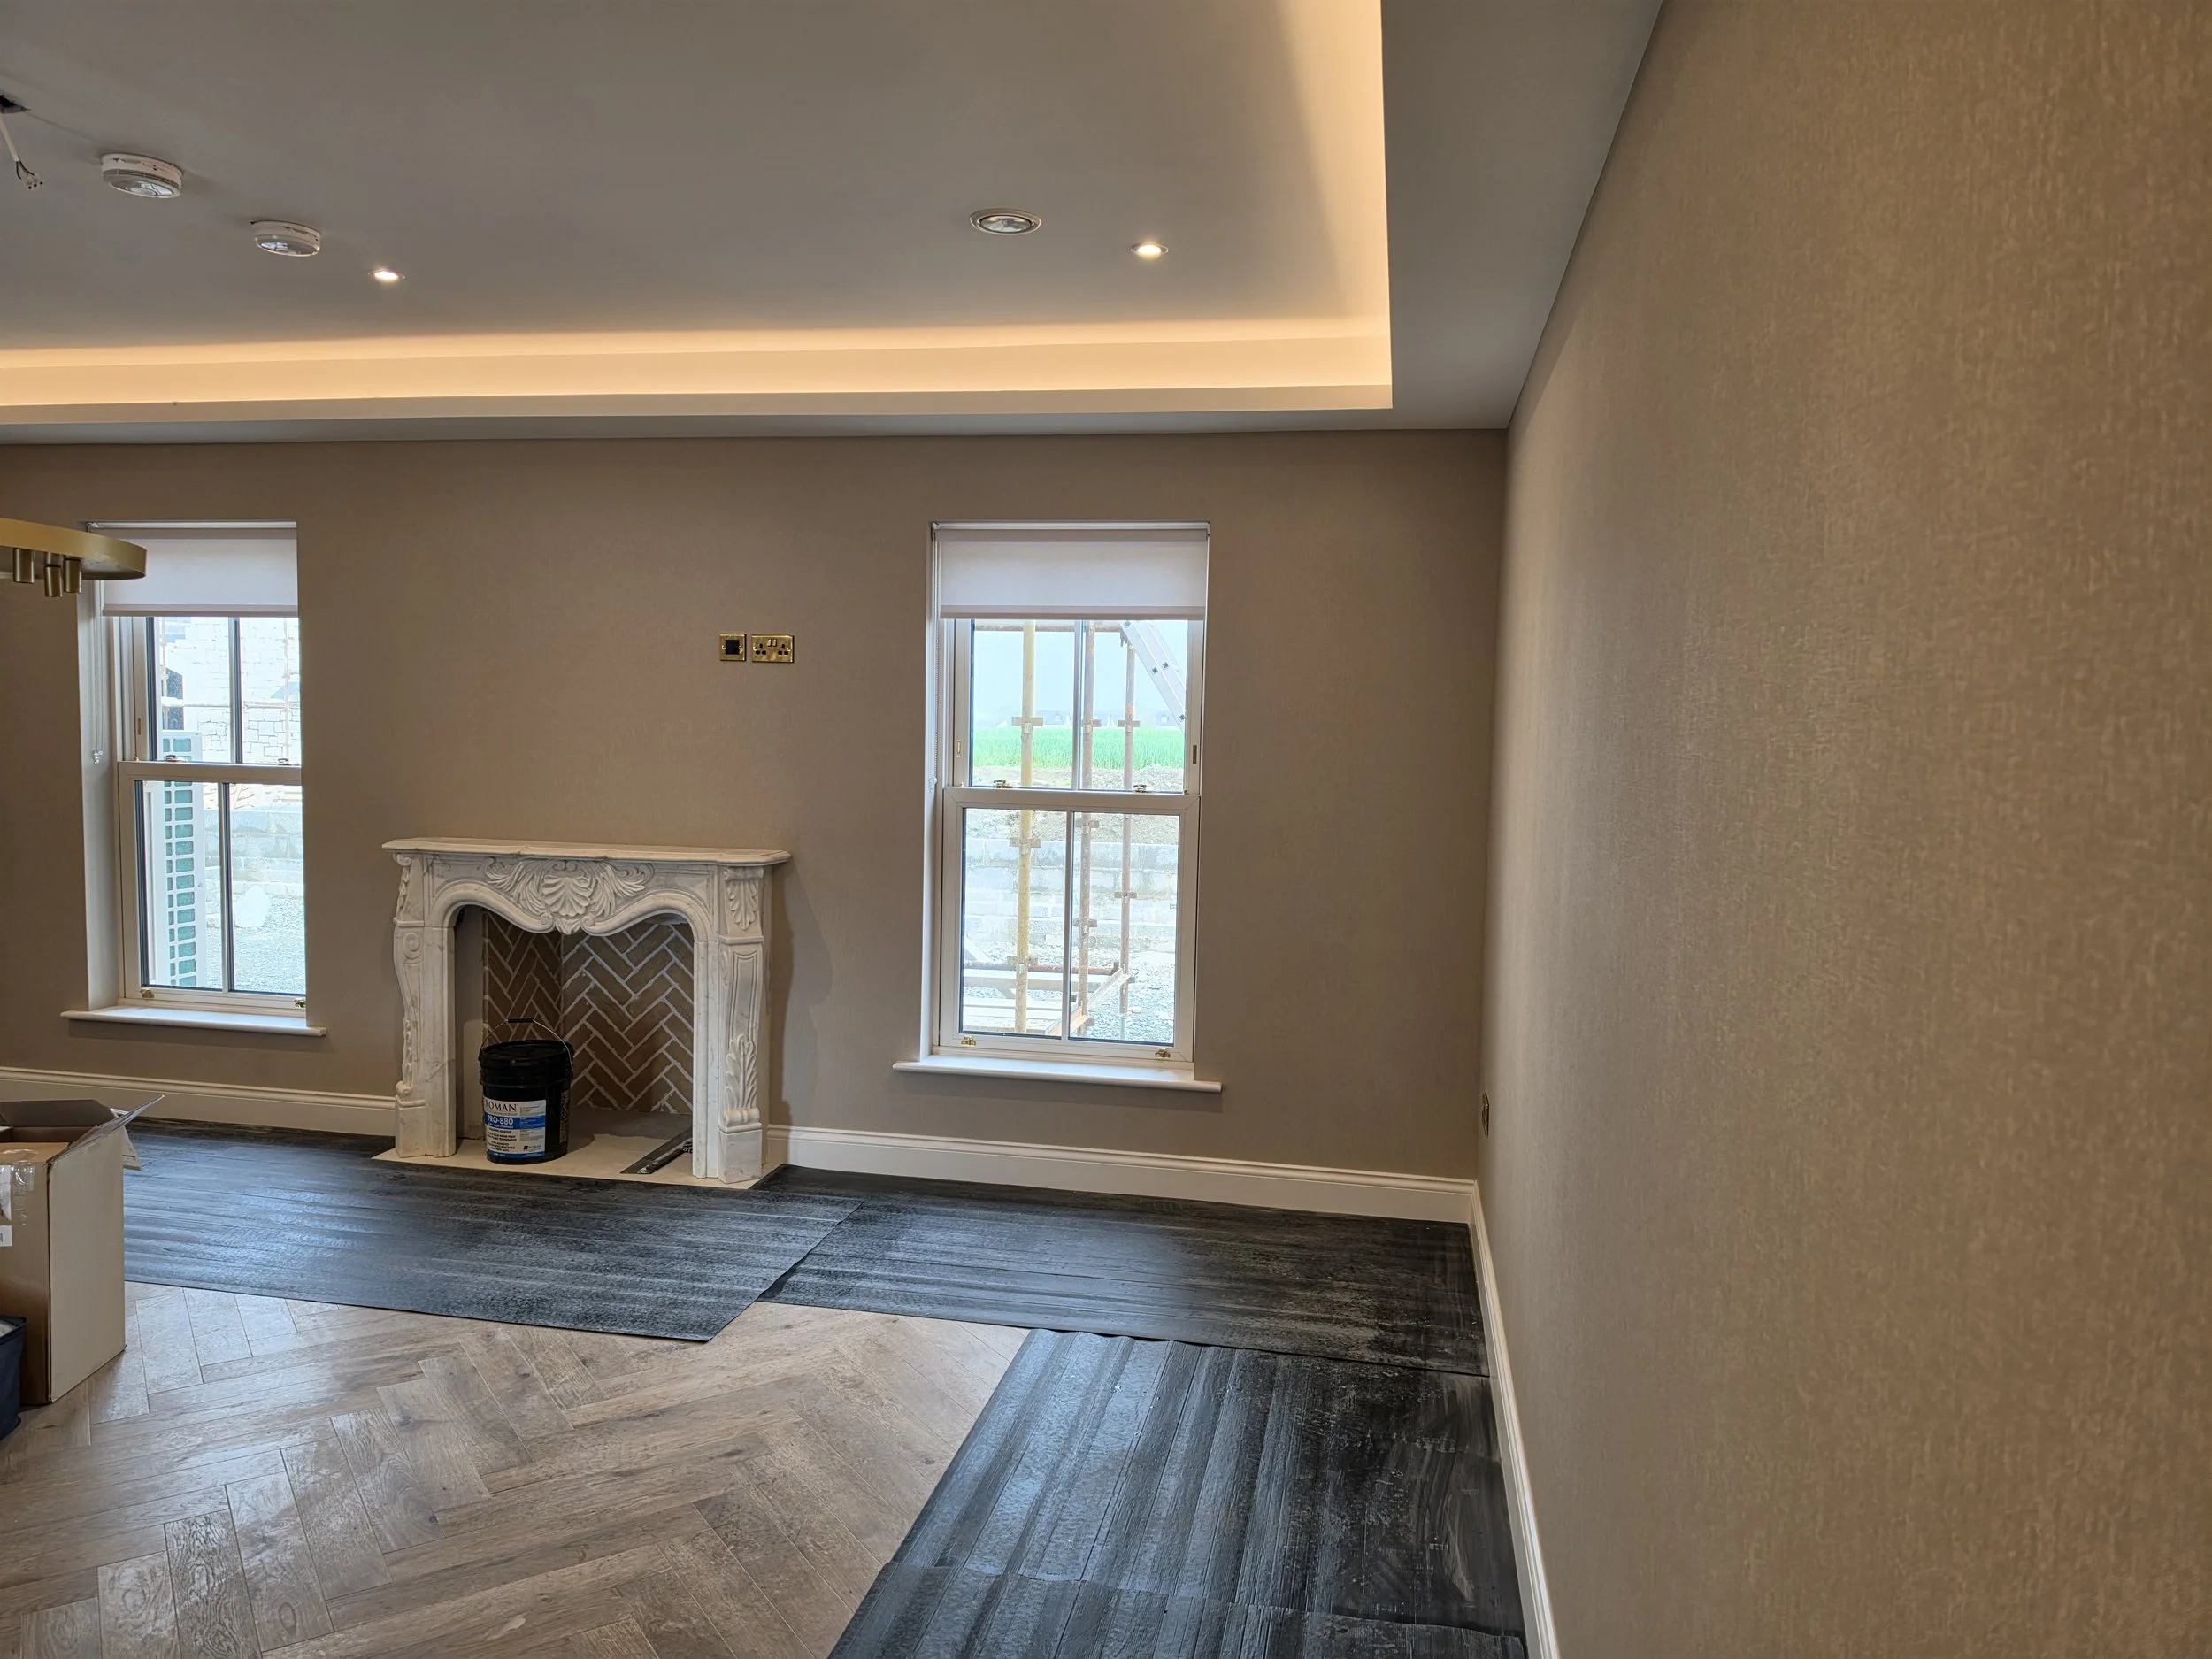
Project: Grand Sitting Room Wallpapering – Premium New Build in Swords
Transforming a spacious, character-filled living area with high-end wallpaper and meticulous surface preparation.
The Solution
To achieve a high-end, luxury finish, the secret lay entirely in the wall preparation:
Surface Preparation: We began by thoroughly sanding down the walls. Every tiny imperfection, gap, and fine crack was meticulously filled with a premium filler, followed by a second round of fine sanding to guarantee perfectly flat surfaces.
Sealing the Walls: Before hanging the wallpaper, we sealed (primed) the walls. This step is crucial in new builds to ensure proper adhesion and prevent the drywall from absorbing the wallpaper paste too quickly.
The Installation: We expertly hung a premium, high-quality wallpaper from Colourtrend across the entire room. We paid obsessive attention to detail to ensure perfect pattern alignment around the intricate sash windows and the fireplace surround.
The Result
The client’s decision to wallpaper the whole room completely brought the space to life. The premium weight and texture of the Colourtrend wallpaper gave the grand sitting room a sophisticated, cozy, and ultra-luxurious feel. The seams are entirely invisible, and the patterns flow seamlessly around the architectural highlights of the house.